Monash University has a great arts faculty including design, architecture and, yes, fine arts. Caulfield campus and its buildings are suggestive of the creative activities of the students. There are pieces of sculpture on display in the court yard, paste-ups on the walls, little installations shown in glass vitrines on each floor of the faculty buildings and a general sense of creative people being around. The MUMA, the Monas University Museum of Art is located here, as well as the Runt / Link gallery.

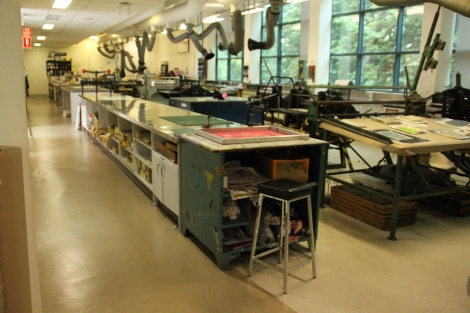
In 2014 as part of the Monash College Illustration unit I was teaching we were able to use the Monash University printing workshops for a few weeks, to carry out a screen printing project. The workshops are fantastic, filled with old fashioned cast iron printing presses as well as more modern machinery, huge ventilation hoses and vast sinks filled with water to submerge paper for printing and etchings. Racks on the far wall hold student’s work left to dry. The facilities include means for lithography, etching, screen printing, and various other forms of print.

The principle of screen printing is not that difficult, but it is important to be precise in order to achieve satisfying results. It took me the first five weeks of the trimester to get the hang of the UV exposure lamps, the high-pressure water cleaner and other bits and pieces necessary for the process. The university students usually work with pre-printed originals, printed as raster by a professional printer on transparent paper. We thought that it would be more fun to paint our originals, because it allows a better understanding of the process. For our originals we used black gouache paint on tracing paper. We used light boxes to check the opacity of our originals, and this method seemed to work well!

The following photographs show the process of student’s projects in the printing phase. I took those photographs to illustrate to future classes the necessary steps to go from original artwork to screen print, and to familiarize people with the facilities. After exposure, the non-exposed areas covered by the gouache original are washed out. With the workshop on the third floor and summer just kicking in, we dried our originals outside on the landing, which helped speed things up. Usually we would have had to use the hair dryers provided, but it takes much longer!
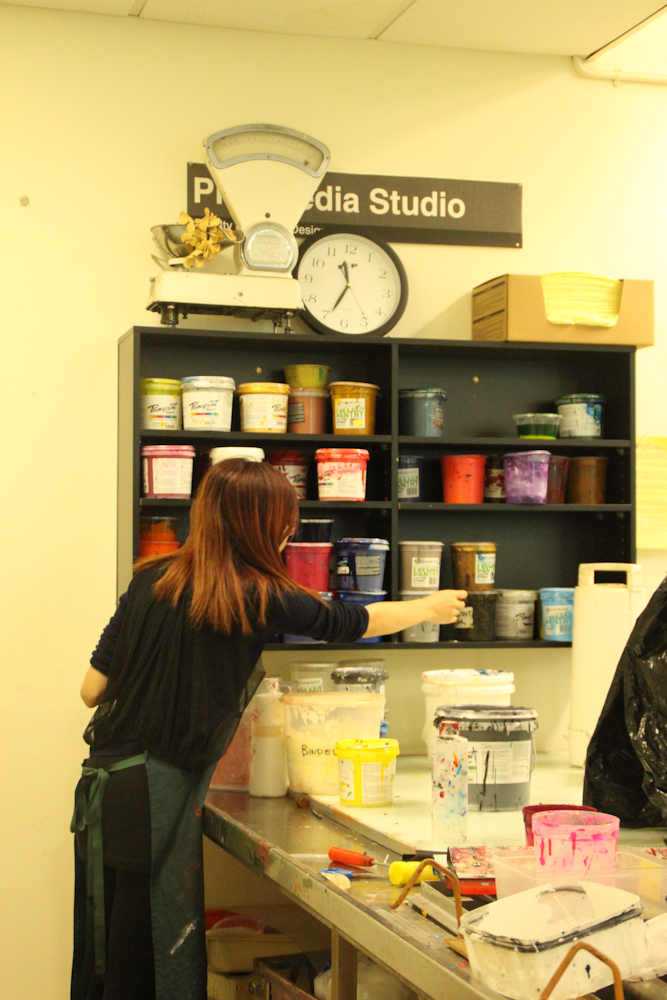
Students mixed their colours according to their ideas, and then added a retarding agent to keep the paint liquid during the printing process. In the warm Melbourne summer weather the paint tends to dry quickly and blocks the screen, which then needs to be washed and dried again. For a three-hour class, this can really slow people down.

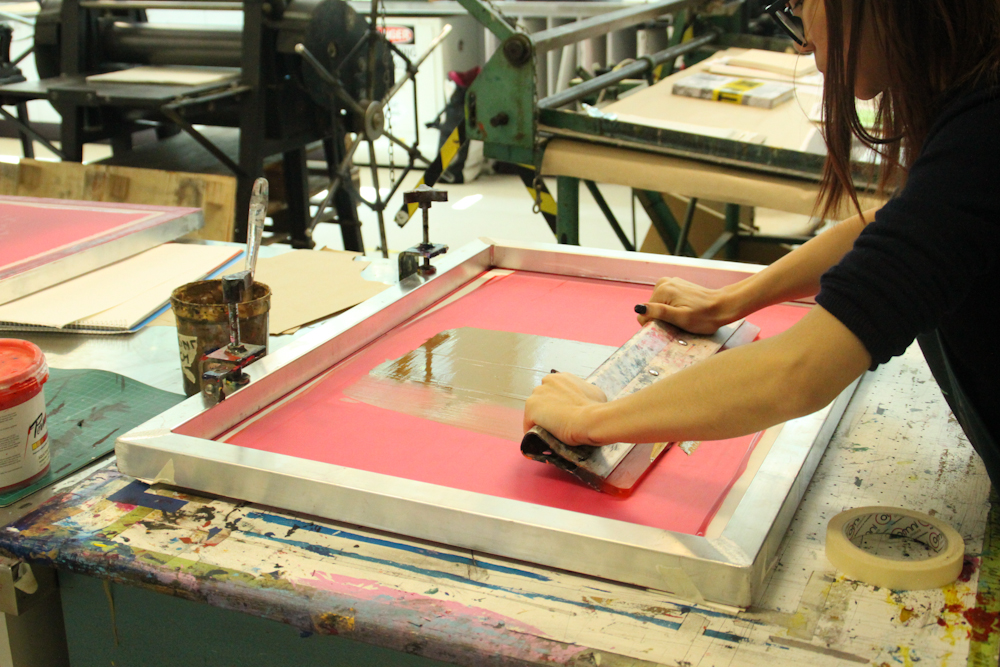
With the colours prepared, the screen is mounted on the rack on one side. The fixtures are equipped with hinges so that the screen can be lifted after printing.

The workshop even has a ventilation system to suck the paper to the surface beneath the screen. Air is sucked through the small holes visible on the white tabletop, which prevents the paper from being lifted up because it sticks to the wet paint on the screen. It’s a very smart and helpful tool!
Student applying the paint to the screen. The paint is spread on the coated area of the screen, and then forced through the non-coated areas with a squeegee. As a result, the colour is transferred to the paper underneath via the areas where the uv-sensitive coating has been washed out.

Students in the process of ‘flooding’ the screen before printing. The following are some more photographs of the student’s work during the screen print project at the printing workshop. Everyone got the hang of the method quite quickly and seemed to enjoy the process, and most did not mind the noise and messiness connected with different liquids, paints, and water used to clean the screens. Then again, I would argue that that’s a major part of the fun.